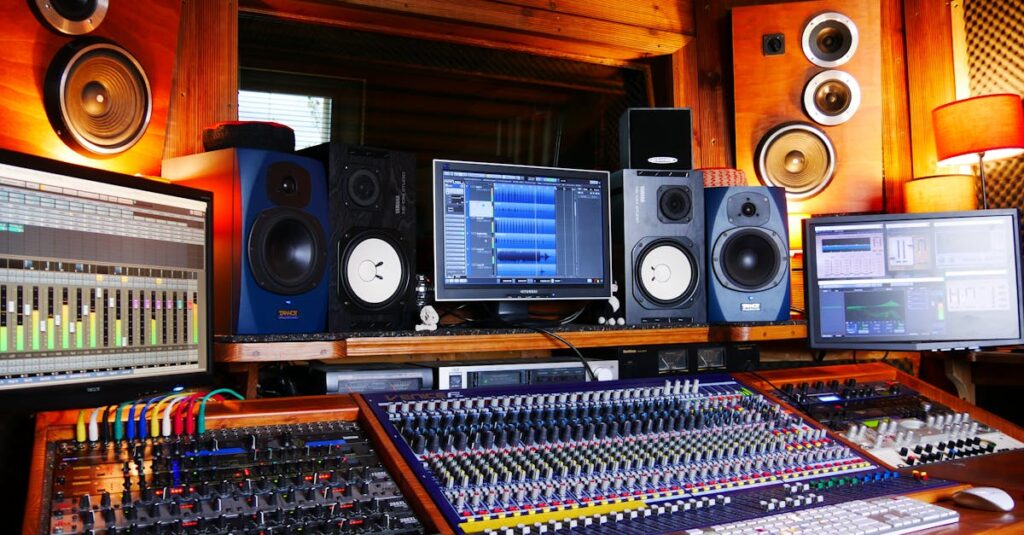
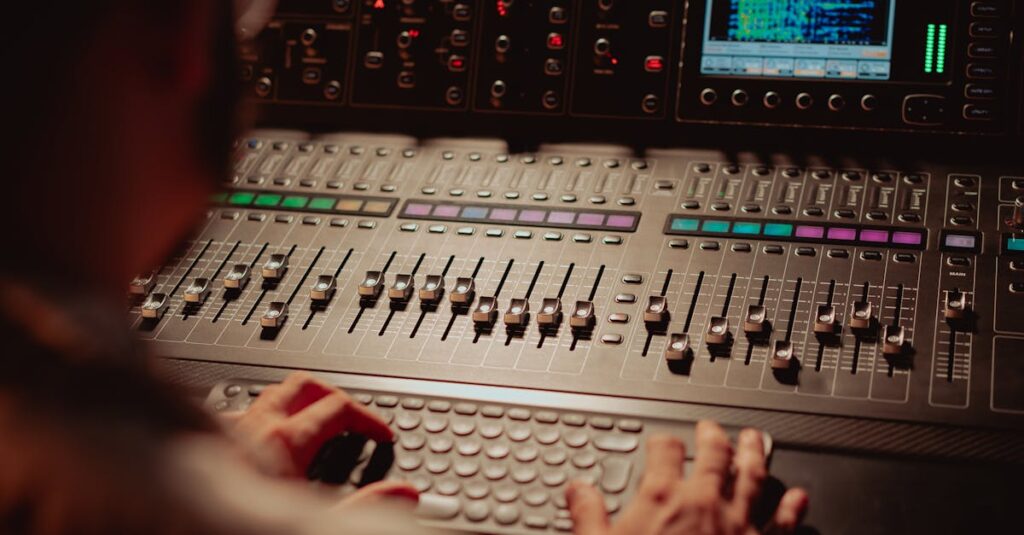
Music production demands precision and accuracy in sound reproduction. Studio monitors and reference speakers serve as essential tools for mixing and mastering tracks with professional-grade quality. These specialized speakers reveal the true characteristics of audio recordings enabling producers to make informed decisions about their mixes.
Unlike consumer speakers that often color or enhance sound quality studio monitors provide a flat frequency response. This neutral sound signature helps audio professionals identify potential issues in their productions such as frequency imbalances mixing problems or unwanted artifacts. From compact near-field monitors to powerful mid-field systems modern studio speakers come in various configurations to suit different room sizes and production needs.
Speakers For Music Production
Studio monitors feature specialized components engineered for accurate sound reproduction rather than enhancing audio characteristics. These professional-grade speakers deliver uncolored audio output critical for mixing music.
Near-Field vs Far-Field Monitoring
Near-field monitors sit 3-6 feet from the listener’s position creating an intimate listening triangle for detailed sound analysis. Far-field monitors mount into studio walls or stand 6-12 feet away providing full-room coverage essential for evaluating bass response across larger spaces. Near-field setups minimize room acoustics interference while far-field configurations reveal how mixes translate to bigger spaces.
Active vs Passive Speakers
Active studio monitors contain built-in amplifiers matched precisely to each driver’s specifications. Passive monitors require external amplification connected through speaker cables. Key differences include:
- Active monitors feature:
- Integrated crossover networks
- Individual amplifiers for each driver
- Balanced XLR/TRS inputs
- Protection circuits
- Passive monitors include:
- External amplifier requirements
- Speaker-level inputs
- Simpler internal components
| Feature | Active Monitors | Passive Monitors |
|---|---|---|
| Amplification | Built-in | External required |
| Setup Complexity | Low | High |
| Power Rating | Factory optimized | User determined |
| Input Connections | Balanced XLR/TRS | Speaker level |
Essential Features for Speakers For Music Production
Music production speakers require specific features to deliver accurate sound reproduction for professional audio work. These essential characteristics enable audio engineers to make precise mixing decisions during production.
Frequency Response and Accuracy
Studio monitors maintain a flat frequency response across the audible spectrum from 20Hz to 20kHz. High-quality monitors feature a frequency deviation of ±3dB or less ensuring consistent representation of all sound elements. Professional-grade speakers incorporate sophisticated waveguides to control sound dispersion minimizing unwanted room reflections. The speaker’s transient response enables accurate reproduction of sudden audio peaks such as drum hits kick drums snares.
- Thermal overload protection
- Short circuit prevention
- Clip limiting
- DC offset protection
- Subsonic filtering
| Amplification Specifications | Near-field Monitors | Mid-field Monitors |
|---|---|---|
| Tweeter Power | 50-100W | 100-200W |
| Woofer Power | 80-150W | 150-300W |
| Maximum SPL | 102-106 dB | 110-114 dB |
| Frequency Range | 45Hz-20kHz | 35Hz-20kHz |
Top Speakers For Music Production Brands for Professional Use
Professional audio manufacturers establish their reputation through consistent quality control and innovative acoustic technologies. These industry leaders produce monitors that meet the demanding standards of professional studios and audio engineers.
Entry-Level Options
Entry-level professional monitors from established brands deliver reliable performance at accessible price points. Here’s a breakdown of notable options:
- JBL Professional 3 Series offers bi-amplified monitors with patented Image Control Waveguide technology
- KRK ROKIT series features composite woofers delivering precise low-end response
- PreSonus Eris monitors include acoustic tuning controls for room adaptation
- Yamaha HS series continues the legacy of the industry-standard NS10s
- M-Audio BX series provides balanced inputs with protective limiting
| Brand | Notable Model | Frequency Range | Price Range |
|---|---|---|---|
| JBL | 305P MKII | 43Hz – 24kHz | $150-200 |
| KRK | ROKIT 5 G4 | 43Hz – 40kHz | $180-230 |
| PreSonus | Eris E5 XT | 48Hz – 20kHz | $150-200 |
| Yamaha | HS5 | 54Hz – 30kHz | $200-250 |
- Genelec monitors feature advanced room compensation DSP systems
- Focal professional series utilizes beryllium tweeters for extended high frequencies
- Neumann monitors incorporate mathematically modeled waveguides
- Adam Audio employs folded ribbon tweeters for precise transient response
- Dynaudio integrates hand-crafted drivers with proprietary materials
| Brand | Notable Model | Frequency Range | Price Range |
|---|---|---|---|
| Genelec | 8351B | 32Hz – 40kHz | $6000-7000 |
| Focal | Solo6 Be | 40Hz – 40kHz | $2500-3000 |
| Neumann | KH 310 | 34Hz – 21kHz | $2200-2700 |
| Adam | S3H | 32Hz – 50kHz | $5000-6000 |
Room Acoustics and Speaker Placement
The acoustic environment directly impacts the accuracy of studio monitors in music production. Room acoustics and proper speaker positioning form the foundation for achieving accurate sound reproduction and reliable mixing decisions.
Ideal Monitor Positioning
Monitor placement follows specific geometric principles for optimal sound reproduction:
- Position monitors in an equilateral triangle with the listening position
- Set tweeter height at ear level when seated
- Maintain 3-4 feet minimum distance between monitors and listening position
- Place monitors 30-60 degrees apart from the listening position
- Keep monitors away from walls (at least 12 inches from rear wall)
- Avoid corner placement which amplifies bass frequencies
- Align monitors vertically to minimize desktop reflections
Acoustic Treatment Basics
Acoustic treatment addresses sound reflection points to create a balanced listening environment:
- Install bass traps in room corners to control low-frequency buildup
- Place absorption panels at first reflection points (side walls ceiling behind listening position)
- Use diffusers on rear walls to scatter reflected sound energy
- Cover 25-35% of wall surface area with acoustic treatment
- Apply symmetrical treatment on opposing walls
- Position broadband absorbers at ceiling-wall intersections
| Treatment Type | Coverage Area | Primary Function |
|---|---|---|
| Bass Traps | Corners & Tri-corners | Low-frequency control |
| Absorption Panels | Side walls & Ceiling | Mid/high-frequency control |
| Diffusers | Rear wall | Sound dispersion |
| Broadband Absorbers | Wall/ceiling joints | Full-spectrum control |
Common Issues and Troubleshooting
Studio monitors encounter several technical challenges that affect sound quality in music production environments. These issues require specific solutions to maintain optimal performance.
Ground Loop and Interference
Ground loop interference creates audible hum or buzz in studio monitors due to multiple electrical ground paths. Here’s how to identify and resolve ground loop issues:
- Install balanced XLR or TRS cables between audio interfaces and monitors to reduce noise
- Use a ground lift adapter on power cables to break problematic ground loops
- Connect all studio equipment to the same power strip or outlet
- Place power cables away from audio cables at 90-degree angles
- Shield monitors from nearby wireless devices mobile phones radio transmitters
| Common Interference Types | Typical Frequency | Identifying Sound |
|---|---|---|
| Ground Loop | 60 Hz (US) | Low humming |
| RF Interference | Various | Static buzzing |
| Power Supply Noise | 50-60 Hz | Electronic whine |
- Set monitors to 0 dB unity gain before starting calibration
- Use a calibrated measurement microphone positioned at the listening point
- Apply room correction software to measure frequency response
- Set monitor levels to 85 dB SPL for standard reference level
- Match left right speaker output levels within 0.1 dB
- Test phase alignment between monitors using polarity checking tools
| Calibration Parameter | Target Value | Acceptable Range |
|---|---|---|
| Reference Level | 85 dB SPL | 83-87 dB SPL |
| Room Temperature | 20°C (68°F) | 18-22°C (64-72°F) |
| Warmup Time | 20 minutes | 15-30 minutes |
Professional Audio Work
Choosing the right speakers for music production requires careful consideration of technical specifications room acoustics and budget constraints. Professional studio monitors serve as essential tools for creating accurate mixes that translate well across different playback systems.
Whether opting for entry-level monitors from established brands or investing in high-end solutions the focus should remain on flat frequency response accurate sound reproduction and proper room setup. With proper placement acoustic treatment and regular calibration these specialized speakers will provide the reliable reference needed for professional audio work.
Remember that even the most advanced studio monitors can only perform at their best when properly configured in an acoustically treated space. This combination of quality equipment and optimal setup creates the foundation for successful music production.


